Quick Start Guide
If you’ve purchased your very own 8 Bit WiFi Visualizer, here’s what happens when you power it up
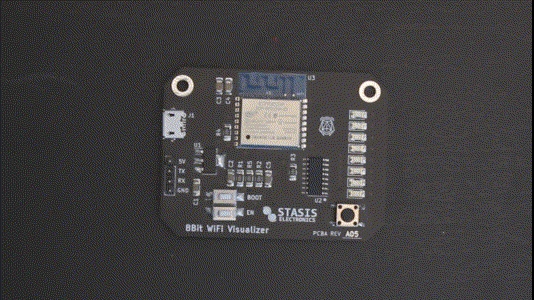
Plugging In
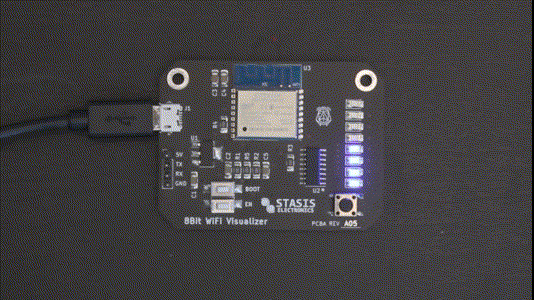
The board accepts micro USB cables and will immediately turn on and begin it’s start up functions.
It will first scan all the networks that it can see and choose the WiFi channel with the strongest network present. It will then display which network it chose, flashing the leds with the channel number in binary.
As the board runs, it will automatically adjust the display scale. If you would like to reset the scale, press the user button once.
Changing The Channel
If you would like to change the channel that the board is visualizing, press and hold the user button until you see the channel number flashing in binary.
Pressing the user button once will advance to the next channel, cycling through all 11 channels.
Press and hold the button when you have your desired channel number selected to confirm your choice. The board will change channel and begin visualizing the network traffic.
Want to learn more about how this firmware works?
Basic Firmware
If you know what AP channel you want to look at and what your maximum rate should be, you can use the basic firmware version and flash the board with an external USB to UART board or cable.
Want to see what a very basic version of the Packet Visualizer looks like?
Reprogramming
The firmware for the board uses the Arduino IDE and ESP8266 Arduino Core libraries. This means it’s easy to write your own code to make the board do something completley different!
All you need is a USB to UART cable, module, or dongle. There are many inexpensive options out there, and you can even use a regular Arduino UNO!
Want to reprogram the board with some custom firmware? Here’s how.